I love to use layers of color and texture to dress up, or update an old look. Repurposing items you already have can work just as well as any special tool or product.Removed the hardware, sanded, and cleaned this nightstand to prepare it for a new surface. After taping off the top and drawer, I used an old credit card to spread the wall spackling on the stencil. This is the most time consuming, because you need to wait for the spackling to dry between passes. After it dried a metal cuticle tool was used to sharpen the spackling details. Lightly sand.
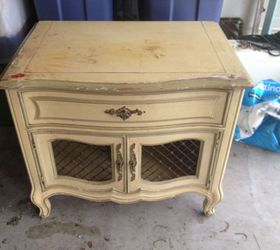 Be sure to remove the dust before painting a base coat. I chose a contrasting color and added a coat of crackle medium after the base coat.
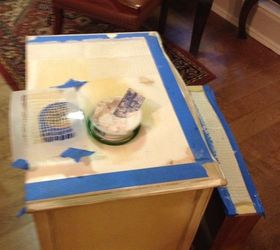 You can't see the crackle until you paint over it. On this piece, I used a light coat of crackle all over for the smaller cracks.
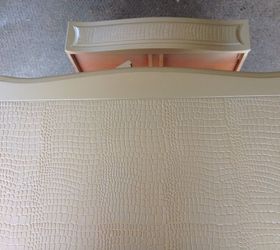 Crackle detail is subtle. I used gold paint on the trim, the finished off with clear and dark wax.
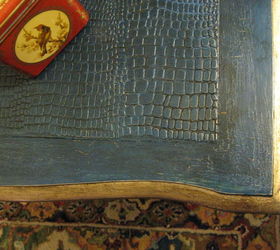 Layers of texture, color, and even the finish contribute to the overall finish.
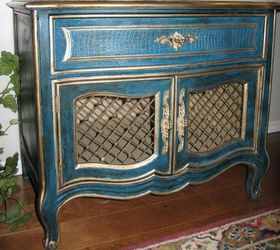 Isn't it the details that make a nice piece special?
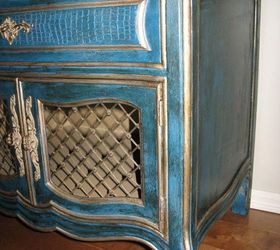
Original article and pictures take http://www.hometalk.com/10934913/how-to-use-spackling-and-a-stencil-for-a-new-look site
Комментариев нет:
Отправить комментарий