I wanted to create this look in the studio but I wanted to DIY it, rather than order a wall mural.
I created a make-up area in the studio for when we are filming you tube videos. It's a nice place to be able to double check for holes in my hair or mascara running down my face.
It seems The Handler 'forgets' to tell me these things while filming our videos. Ahemmm...
Check out my you tube channel here!
https://www.youtube.com/channel/UCXOhjfHC7gb4cOVpRWSEZkA
I wanted to do a cool wall treatment that would peak out from behind the fantastic
Rustic Hollywood Mirror
http://www.designasylumblog.com/diy-rustic-hollywood-mirror/
we made, but not something that would compete for attention.
The process was quite easy.
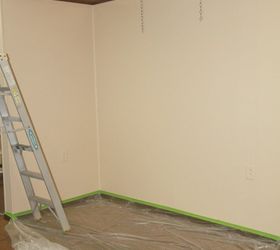
I started with a solid wall that was painted in Sherwin-Williams SW6107 Nomadic Desert. It's fairly similar to the Velvet Finishes Soulful, just a nice, quiet beige. It was a perfect backdrop.
Stately/Timeless/Prestigious/Opulent
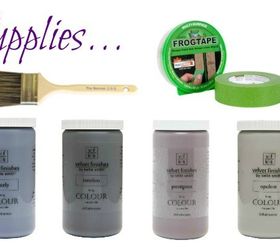
I also used the Reviver 2.5 S paint brush.
Other than that I used a plastic drop cloth, Frog Tape Multi-Purpose, a ladder and throw away containers for mixing the paint and water.
http://www.velvetfinishes.com
Of course, just add more paint to increase the depth of color. I wanted a very sheer look.
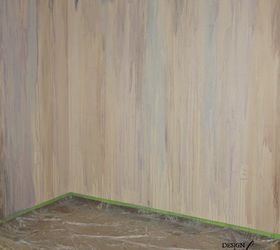
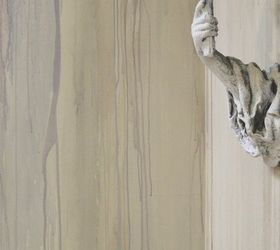
To create the watercolor effect:
simply add the tinted water to your brush,
place the brush at the top of the wall
and
press the water out - just let it flow!
The water takes it's own directions, rarely running just straight down. I like that in many areas it went sideways, as it created an overlapped and layered effect.
If it did not go down the wall as far as I wanted, I simply pressed where it stopped, but pressed a little lighter so it looked consistent, as the color became lighter as it tapered down the wall.
I mixed it up a bit and also made some of the colors wider than others. I did not want a
strong 'striped' look so this was important to the process.

It was messy!
Be sure you have your plastic well taped on the floor or trim.
Definitely do not do this at home with kiddos running around!!!
I had paint all over my arms and feet.
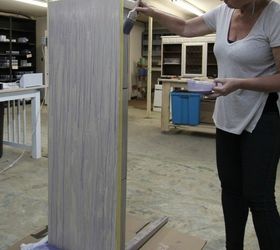
Since I was so in love with this technique, I decided to do the vanity desk I was going to use with the same watercolor treatment.
I painted the table in Velvet Finishes Soulful and after that was dry
I turned the table up on it's end because I wanted the color to be running in the opposite way
on the top of the table, from the wall.
I did the top and the fronts of the drawers.
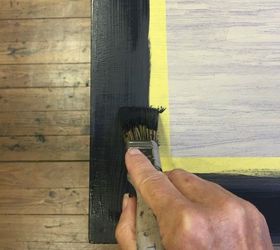
Velvet Finishes Luxurious.
I also painted the front of the top slab, as well as the legs.
would have simply blended into the wall.
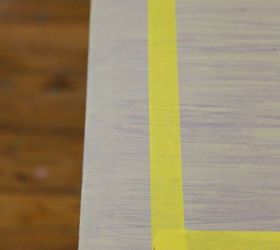
Remember to remove the Frog Tape while the paint is still damp.
Gently pull up to reveal perfect lines!

Original article and pictures take http://www.hometalk.com/10974775/diy-watercolor-walls site
Комментариев нет:
Отправить комментарий